Monday, 18 April 2016

Week 11 - Building the Bear Puppet

Building the Bear Puppet:

Once I'd finished the Goldilocks puppet, I began working on the bear for the Animation. I started the process exactly the same as before and made sure I stuck to the original ideas I had presented during the research stage of the brief.


(The torso for the bear)


I'd also compared the sizes of Goldilocks and the child bear to make sure I had them both anatomically correct in terms of child to adult ratio.


Once I'd finished adding the details to the bear such as the heat shrink to make sure that he was a sterdy character. I wanted to pad out the body as much as possible, this was to give him the effect of 'cuddly fur'. Mainly because within the storyline I wanted him to appeal to the audience in a 'cute and quirky' manner, but also have a dark side to him.


I'd managed to find some fur from an old coat and cut out the shapes I wanted to cover the padding I had spread over the body of the puppet.


Although very messy to begin with, I managed to cover the bear with the fur and a glue gun and then went on to dry brush him with acrylic paint which seemed to cover any of the crumpled fur created by the sewing and glue.


As soon as the fur had set onto the body of the bear, I began to made the feet, which were going to be cover with fur also. 


I'd made them as plain as possible as I knew they weren't going to be seen, however, I had to make sure that there were bolts in the feet so that I could adhere to the mapping out of the walks or movement he would be doing in the scenes. 

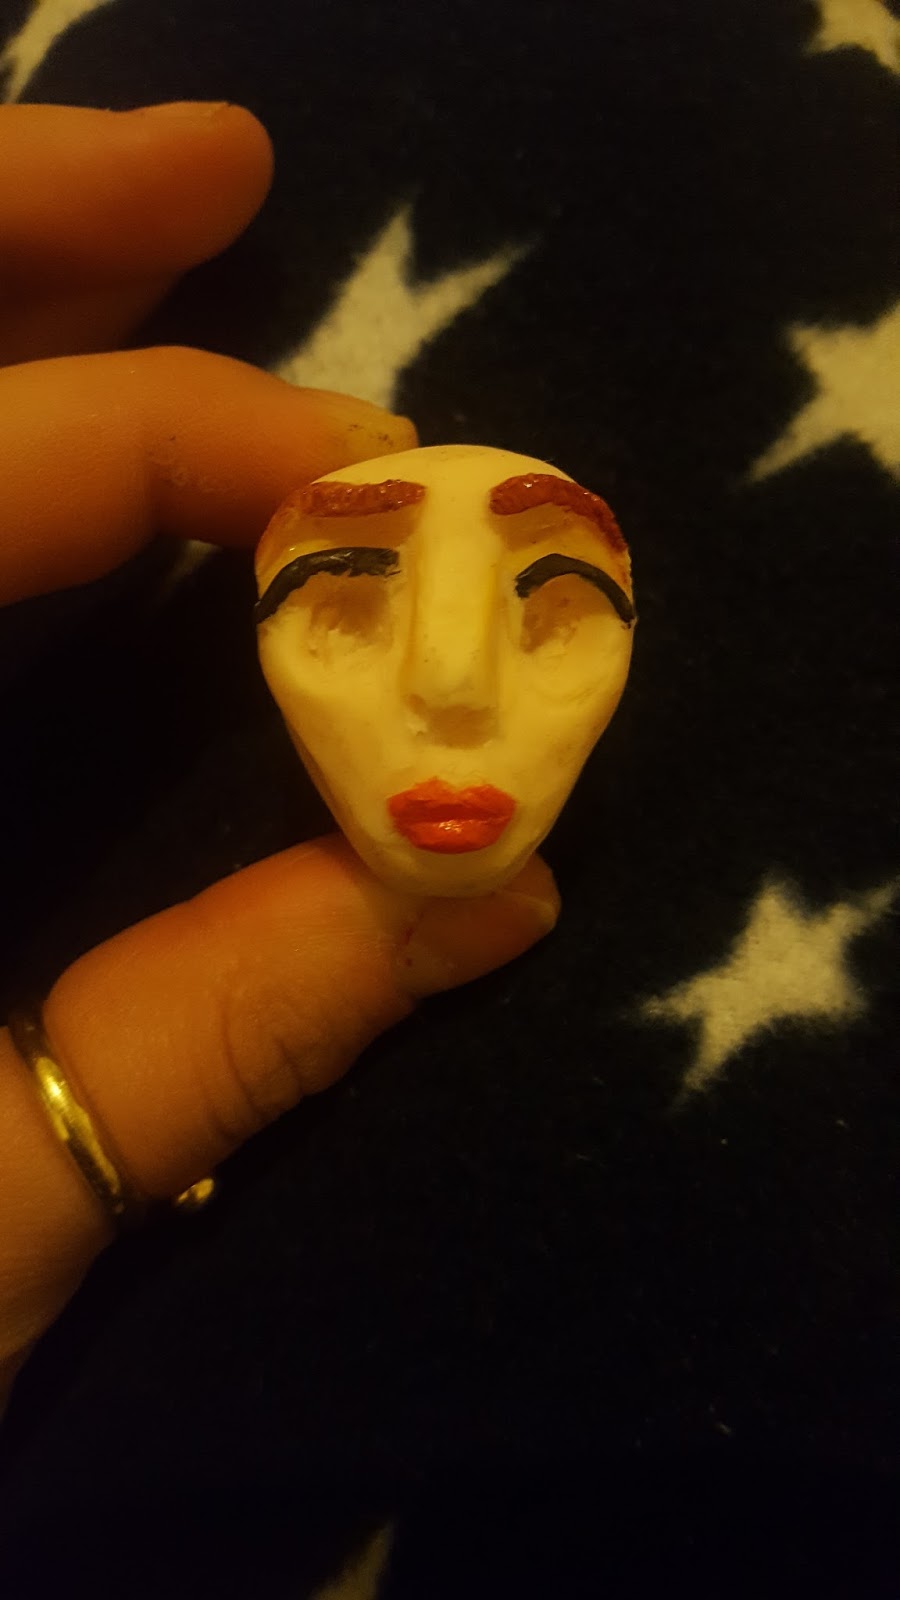
Making the face for the bear:

I really enjoyed the texture on the feet of Goldilocks and it wasn't a replicable one without sculpey. Therefore, I made the bears face out of sculpey so that I was able to complete the facial replacements for him. 

I chose this character to do the facial replacements on as I felt as though he is the main character in the twisted fairytale I had adhered to. Therefore, I began texturing the head and making sure I had mapped out enough room for the phonemes to be stuck into the face of the bear.


At this point, I was relatively pleased with the outcome of the facial replacements and knew that when I painted them the phonemes would really stand out and I knew I would be able to animate with them for the test shots.


After they had been baked in the oven I was able to paint them with the base colour so that later on I would be able to dry brush the same colour as the fur into them. This worked really well and I was pleased with the outcome of these faces.


However, I did notice that in the oven some parts of the facial replacements were too big and I did have to cut parts off to be able to accommodate them into the bears face. 


Once I'd dry brushed the puppet's face, I stuck magnets to either side so that the facial replacements would stick easily and I wouldn't have to worry about them falling off or chipping because I wouldn't be mishandling them too much as the magnets were doing most of the work.


When I'd finished the bear, I created the sword which I placed into the side of his shorts and made sure that any patches of fur (the right leg) were covered up with more paint. The sword itself also had magnets on so that it would be placed securely into the paws of the Bear. 


Monday, 11 April 2016

Week 11 - Building Goldilocks Puppet

Building the Puppets:

Once the set was complete, I had to begin building the puppets. As I'd already created my maquette before I'd built the set, I already knew that the scale for my characters was correct and I could immediately start constructing them. 

This was my second attempt at creating a puppet, as on the previous one I had sewed the jeans on too tight and couldn't move the legs well enough to get any movement from it as a puppet. 

(Jeans sewed on too tight)

I started with the Goldilocks character,  I began experimenting with the size of the aluminium tubing, I wanted something that would withhold a lot of movement. This is mainly because I had broken 2 Armatures when I'd been experimenting with the weekly tasks. Therefore, I decided to wrap two sets of wire with the drill to create a robust puppet. 


Once I'd added the tubing to the non-movable parts of the puppet, I used a heat shrink to make sure they stayed on for the movement I was going to be doing with it in the studio. This was also mixed with the two part proxy glue and left the puppet stiff but still flexible for a lot of movement.


Once all of the tubes had been added to the character, I decided to start bulking it up. This was done with kitchen sponges to make sure they were flexible for movement.


I then began to make the hands for the puppet. I wanted them to be quite long and thin. Therefore, I twisted two wires together, but left the fingers with only one wire. This gave way for the sculpey to slide onto the fingers and remain 'thin' in size.


I attached these to the body and then began working on the clothes for the puppet. I wanted to make sure I was adhering to my original design and maquette as much as possible and created a shirt, leather jacket, jeans and bear shoes.


Once the shirt, jeans and shoes were attached I began sizing up the puppet for the leather jacket. This was probably the hardest item of clothing to make for the puppet due to the complicated nature of the sleeve and the seams.

I wanted the jacket to look 'crisp' and shiny like a leather jacket would look, therefore, I researched into how leather jackets look and found images of them so I would be able to base mine off them. 

I managed to paint the material I had sewed together with black acrylic paint, this enabled me to scrunch the material up and add some texture to it. 


I felt as though I was happy with the outcome of this jacket, but I did want to add some more detail to it. For example, a collar on the shoulders and some detail onto the jacket itself. However, I didn't want to over-complicate it too much and eventually kept it to a bare minimum with fluffy cuffs on the arms and a collar.


I had to then sew the arms onto the main part of the jacket, I did find this difficult because the material had hardened a considerable amount since I'd painted it. 

Making the Head:

I'd finished with the body and then began to build the head for Goldilocks. This process was relatively easy as I'd already designed two for the maquette I had previously built. 

I began with a ball of sculpey and made sure it was rolled out into a head shape with tin foil underneath. This allowed me to have a heat absorbing material in the oven and sped up the process of cooking the heads.


I started by just outlining the shape and the nose placing that I wanted into the sculpey. This made it easier to add in the eyes and the mouth structure.


I'd placed the head onto a pencil which allowed me to manoeuvre around the head a lot better as I didn't want to keep indenting it with finger marks as I was trying to build it.


I then began to add finer details such as the cupids bow on the mouth and the eyebrows. This really brought the whole face together and allowed me to carve back into the sculpey to define the jawline and the arch in the brows.


After I'd completed all of the necessary requirements for a face, I needed to mark the space for the eyeballs. I rolled two small balls of sculpey and placed them into the eye sockets to make sure they fitted perfectly and then took them out so that if I wanted to do eye replacements I would be able to.


Once I'd put the face into the oven I began to paint it. I'd used acrylic paint for the maquette before and the glossy effect it made really worked well with the look I wanted to achieve. Therefore, I followed the same technique again and added more definition to the face with colour.


When the paint had dried, I was then able to add in the neck with sculpey, I had to make the head detachable for the 'killing' scene with the bear, so I kept the sculpey uncooked on the neck. This allowed the head to tilt sidewards/up and down which is something I had considered before building the puppet. 


Once the face had been completed, I made sure the detail on the collar and the image on the t-shirt were painted on and this referred back to my original drawings of Goldilocks.


(Image of her in the set - contrasting colours for Goldilocks makes her stand out)


Monday, 4 April 2016

Week 10 - Testing the Set

Testing the lighting in Dragonframe:

Once the set was complete, I tested the lighting in the Stop Motion Studio using DragonFrame. I wanted to experiment as much as possible with this so that I could use it to frame the characters movement or add a different emotion to the scene.


The red colour coming from the right in this shot seemed to work really well, however, during this experimentation of lighting I realised that the green screen would be visible with the height of the set I had created. 

Therefore, I created a blue coving on the top of my set to give it more height and allow it to reflect some of the light downwards into my scene. 


I used my first attempt at my puppet to study the space within the scene. By doing this, I felt as though I had a grasp for the movement I wanted to create within my tests for the brief. I did feel as though the legs were lost within this lighting as it did have bluey tones to it.


Test Shots for the Set: